33 Books Co. Blog
Three Ways to Make Cider at Home, Part 1: Dump and Stir September 12 2019
I love everything about cider. The drink, of course, but also the making of it. There's nothing quite like a cool fall day and crushing and pressing apples outdoors with friends and family. I'm lucky enough to live in the middle of apple country, but even if you don't, it's easy to make your own cider at home with some simple equipment and materials.
Over the next week or two, I'm going to share three ways you can make cider at home, starting with the method I lovingly refer to as "Dump and Stir." It's a great place to start your cider-making adventures.

"Dump and Stir" Cider
1. Buy yourself two gallon jugs of juice. If you're almost anywhere in America, there's an apple orchard nearby (thanks, Johnny Appleseed), and most commercial orchards sell freshly-pressed apple juice to-go in gallon containers this time of year. If you can't locate one, many supermarkets sell fresh juice in the fall, usually near the orange juice. Look for organic juice with a recent press date. If bought at a store, it will almost certainly be pasteurized, which means there won't be any living yeast or bacteria in the juice. Un-pasteurized cider is far less common, but if you go to an orchard and explain your intentions, they may find you some in the back if you ask nicely and quietly, and it will result in a slightly more interesting cider.
2. Find a homebrew store, and take along this very tidy shopping list.
- A packet of yeast. Use dried wine yeast if you have great, fresh apple juice, beer yeast if you don't. Look for dried yeast, which is cheaper than "fresh" yeast.
- An 18" length of plastic tubing.
- Optional: sanitizing solution. You can use a homemade bleach solution at home instead, but there are many ready-to-use options available for purchase if you want to keep it simple.
3. Empty one full jug and about two cups of the other juice into a crock pot or large pot on the stove at home. Add a cinnamon stick and/or several whole cloves and set to warm. Enjoy with friends, dose of bourbon, blended Scotch or rum optional. Save the empty container for step 6.
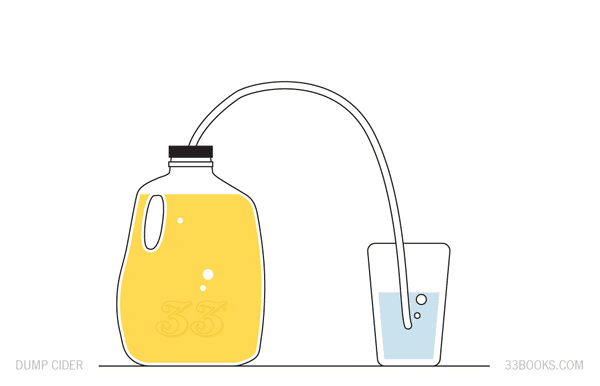
4. Drill a small hole in the top of the cap which very closely matches the outside dimension of your tubing. Insert tubing slightly so it just reaches the bottom of the cap. This is your "airlock."
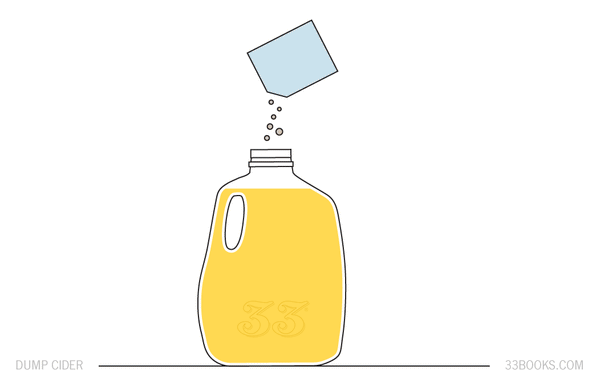
5. Dump the yeast into the remaining jug of juice according to the instructions on the packet. Stir to incorporate the yeast and aerate the juice.
6. Screw your airlock onto the juice jug tightly. If your tubing is a loose fit, use hot glue or candle wax to make as airtight a seal as possible where the tubing enters the lid. Place the other end of the tubing into a glass of water on a tray, and move the entire setup to a cool, dark place. Closets are good. As the yeast eat the sugars in your juice, they will "burp" carbon dioxide gas and convert the sugar to alcohol. The tray will catch any splashing caused by the yeast burps!

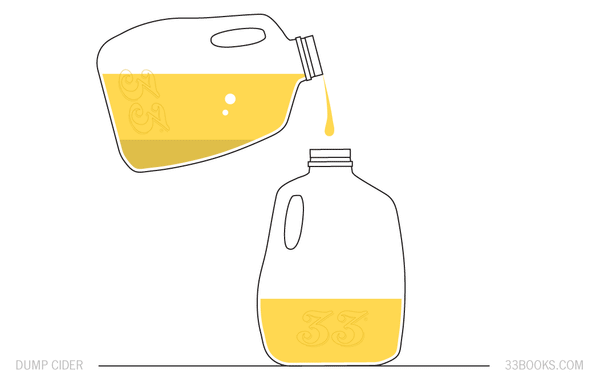
7. Gently pour the cider into the clean, empty jug from step 3 once the bubbling slows wayyyy down (a burp every 20-30 seconds). Leave the layer of dead yeast in the first jug. You should sanitize the jug and hole-less cap with a bleach solution (find a recipe on the Google) or sanitizing solution you bought at the homebrew store. Cap the cider tightly.

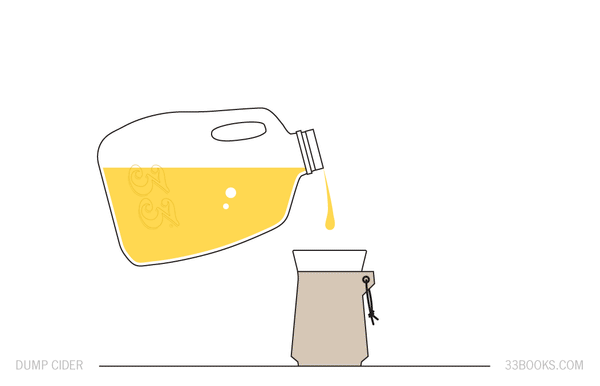
8. Enjoy! If you want a lightly carbonated cider, put the completely sealed jug back in the closet for a week before moving to the refrigerator. The yeast will consume the small amount of sugar still remaining and carbonate the cider. Keep the cider in fridge and consume within a week or two using your Cider Mug! Easy!

